Skip to product information


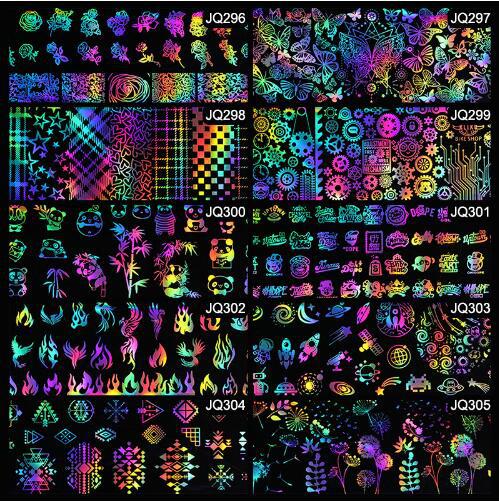
✨ Holographic Nail Art Transfer Foil Roll – 3D Butterfly & Flame Designs (1M Roll)
$14.99
💅 Create Salon-Level Nails at Home
Add instant shine and personality with these holographic nail transfer foils — featuring 3D butterfly, flame, and floral patterns that shimmer from every angle.
🌈 Why You’ll Love It:
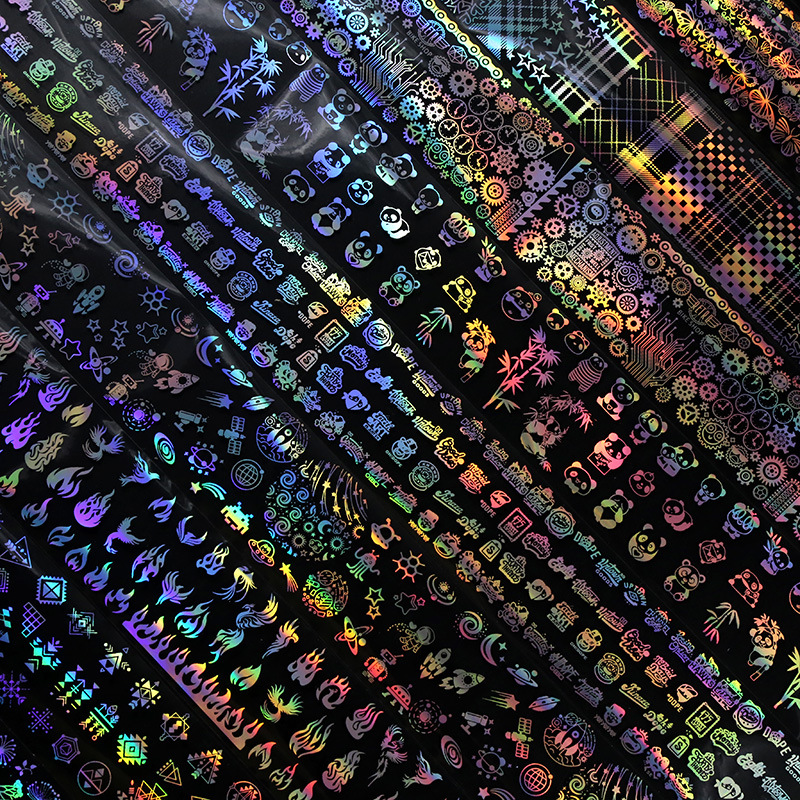
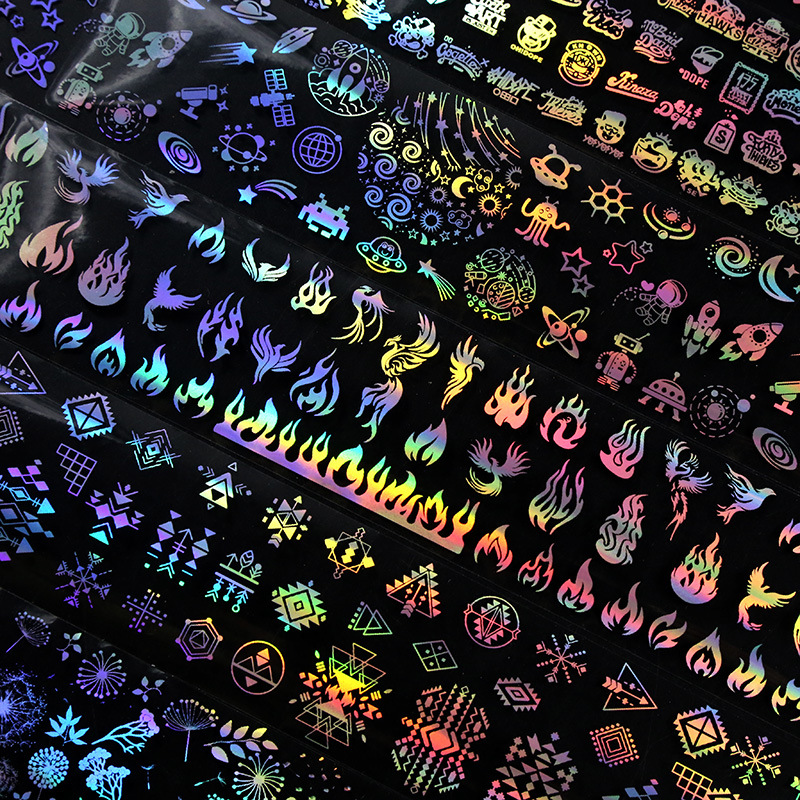
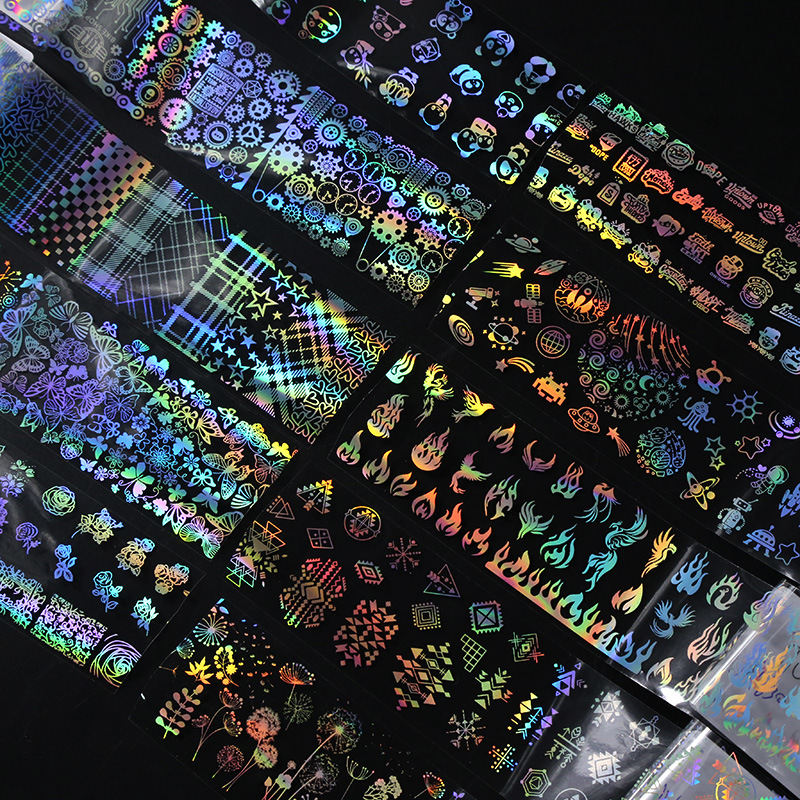
12 unique styles per set (1M roll each)
Works with gel polish, acrylic, or natural nails
Easy to apply & remove
Long-lasting shine and color reflection
✨ Perfect For:
DIY nail artists • Salons • Party looks • Holiday designs
📦 What’s Included:
1 roll (1 meter length, 4cm width)
Packed securely to prevent damage.
First, [nail polish production steps]:
1, a thin layer of primer to make a base, the bottom oil has the advantage of preventing pigmentation and strengthening the adhesion between nails and nail polish
2, after the bottom oil is dry, apply the color nail polish, the color of the starry sky is the best in black.
3, the viscosity should be mastered by yourself, touched with your fingers, the surface is slightly dry, but the most suitable when there is a little viscosity
4, put the sticker on the nail surface, the desired color is placed in the desired position, using the , the three methods to make the size of the effect is different.
Note: The bright oil will affect the effect of the star sticker, try not to go up, but keep the time relatively long after the oil is on.
Second, [made steps of nail polish]:
1. First cut the starry paper into small pieces with scissors, not too big, about a small piece of 2--4CM. The same steps as the phototherapy nail polish, first apply the primer, and the phototherapy lamp is dry;
2, select the deep color of the nail polish (such as black, sapphire, red, etc.) painted two layers, put the phototherapy lamp to dry;
3, there is floating glue on the nail polish glue, take out the starry paper, and print it on the surface of the surface with the floating glue (pay attention to the action when printing),
Colors can be matched according to your needs. You can use two or three colors to make a starry sky.
4, after the color is glued, apply a layer of seal, the beautiful starry sky is finished... simple!!
Third, [Starry Glue Production Steps]:
1. First cut the starry paper into small pieces with scissors, not too big, about a small piece of 2--4CM. The same steps as the phototherapy nail polish, first apply the primer, and the phototherapy lamp is dry;
2, coated star glue, and other surfaces after the transparent color, no need to light
3, stick star paper
4, according to the lights, clean lights for 3 minutes, the beautiful starry sky is finished... simple!!